A solution to achieve greater success for edentulous cases
Michael DiTolla, DDS, FAGD
The issue: Whenever we are missing the posterior teeth in a crown, bridge, removable, or implant case, making an accurate bite registration with no posterior support becomes an issue. Some dentists will just inject material between the remaining upper and lower anterior teeth. I used to do this and assumed it was good enough for the lab. Other dentists will inject material between the posterior edentulous ridge and the opposing teeth, also known as a mush bite. Either way, these cases end up with a much higher remake rate.
The solution: With the use of a positioning and bite index in conjunction with some custom abutments, we're able to solve this problem. Using a positioning and bite index will help your lab achieve more predictable results for edentulous cases like this and keep everyone happy.
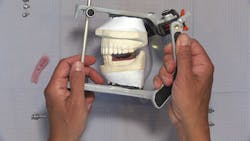
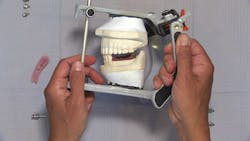
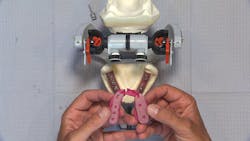
Figure 1: In this case, the patient is a Kennedy Class 2 (bilateral edentulous space in the posterior) and the doctor is going to restore the patient using dental implants. In cases like this, we have a method to make bite registration much more accurate.
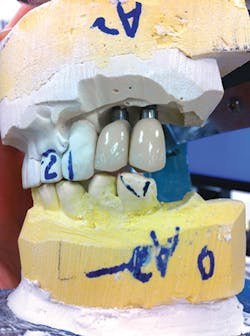
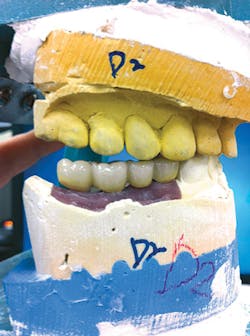
Figures 2a and 2b: Here are two cases that didn't have accurate bite registrations. These doctors tried in the case, took a new bite, and sent it back to us to remount and evaluate. Fabricating a positioning and bite index will solve this problem and give clinicians the best chance of having the bite be either ideal or needing minimal adjustments.
Figure 3: For the case in Figure 1, we received the implant-level impression from the doctor, fabricated a positioning and bite index for each edentulous area, and sent them back to the doctor with custom abutments. I like to use custom abutments in a case like this, especially on the side with the bridge. In terms of draw and having an adequate support structure, it's tough to beat custom abutments for an implant-supported bridge.
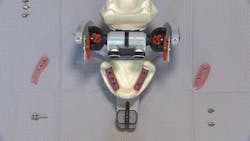
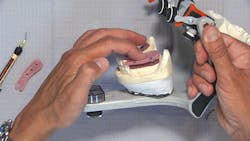
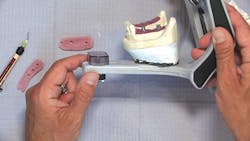
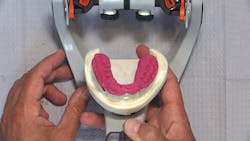
Figure 4: This is the acrylic positioning and bite index with No. 18 and No. 20 marked on it. This index serves two purposes: to position the custom abutments in the mouth and to verify and/or take a highly accurate bite registration that can be transferred to the laboratory.
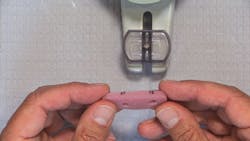
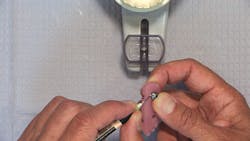
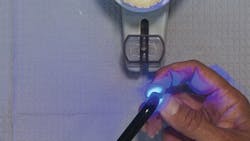
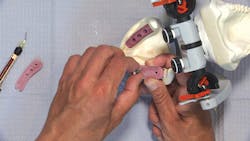
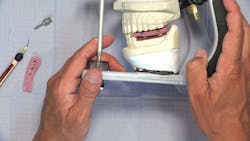
Figures 5a and 5b: Once the clinician receives the positioning and bite index, the first thing to do is position the custom abutments into it. Then, to temporarily hold the abutments in place, use a little flowable composite and cure them for a few seconds.
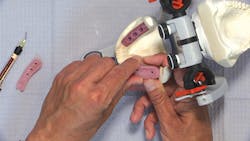
Figures 6a and 6b: Now the index with the two custom abutments should fit into the soft tissue, and when viewed from the occlusal, should also be resting on the adjacent natural tooth. At this point, we'll drop the two screws into the custom abutments and tighten them down. You'll feel the positioning index seating as the screws tighten. Again, the custom abutments are being held, so they really can't rotate.
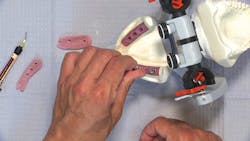
Figures 7a and 7b: Verify that you're in solid contact with the natural tooth-the cuspid in this case. At this point, I can take the index off and just flick off the two little pieces of flowable composite that kept it from falling out of the splint, and then verify that the screws are tightened.
Figure 8: We're also going to snap a digital radiograph to make sure these implant components are, in fact, seated all the way. Frequently, we're dealing with components that might be 3 mm to 5 mm subgingival, and you just can't check visually. And you also can't assume that because the screws stopped turning, everything is seated all the way until you verify it on the radiograph.
Figure 9: Now we're going to put the index back in place and verify that the bite is correct. If everything is mounted correctly, when the patient bites down, the teeth will fit into the indentations on the bite index. Realistically, the chances of this happening all the time are pretty slim, so we take the index out and grind the indentations away with a watermelon bur. When done, there should be no contact between the teeth and the index.
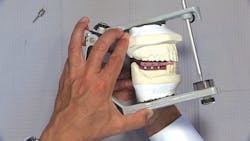
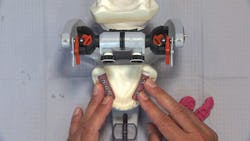
Figure 10: I'll repeat those same steps for the other side. When it is sitting on top of the custom abutments and it's also grasping the adjacent natural teeth, it just won't move at all. When you compare this to a typical bite, this is a huge jump ahead in terms of accuracy.
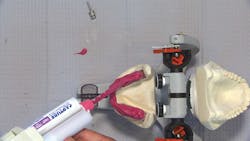
Figure 11: I'm applying Capture bite registration material (Glidewell Laboratories; Newport Beach, California) along the entire arch, making sure I get an impression of the necessary posteriors as well as the anteriors. Vinyl polysiloxane impression material happens to stick very well to the light-cured guide, so there's no reason to use any tray adhesive. In fact, it's very difficult to get it off, if you've ever wanted to get it off.
Figures 12a and 12b: Here is the completed bite registration. When you put the sections back and seat it back onto the custom abutments, you can see how perfectly they fit together. This is as good as a bite registration is going to get.
Figure 13: At this point, all that the dentist needs to do is remove the segments and the custom abutments and send them back to the laboratory. For a small fee, we can send you duplicate abutments and a BioTemps (Glidewell Laboratories) bridge, in case you want to do a fixed provisional solution.
Michael DiTolla, DDS, FAGD, is the director of clinical research and education at Glidewell Laboratories in Newport Beach, California. He lectures nationwide on both restorative and cosmetic dentistry. Dr. DiTolla has several free clinical programs available on DVD through Glidewell Laboratories or online at www.glidewelldental.com.
More Confessions From an Average Dentist
Common preparation mistakes that cost you money
