A simplified approach to cementation of bonded restorations
Thanks to advancements in technology, dentists can now provide natural-looking bonded restorations quickly and easily. Digital technology can be used to design and mill restorations, and advancements in adhesive dentistry can be used to secure restorations. Historically, achieving that all-important, durable chemical bond between the tooth and the restorative material has been challenging. Problems have included selection of optimal cement, technique sensitivity, multistep procedures, and difficulty with clean-up of excess cement.
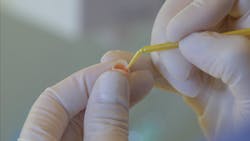
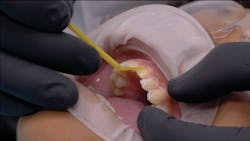
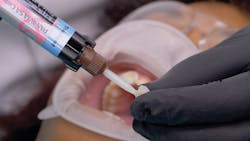
In the following case, we used a product containing new dual-monomer technology: a universal, self-adhering resin cement with a built-in silane coupling agent (LCSi). The cement was used to bond glass ceramic restorations to tooth structure and eliminate traditional adhesive challenges. Because of the product’s new technology, there was no need to apply a separate ceramic primer to the intaglio. This streamlined the cementation process. The cement also contained 10-methacryloyloxydecyl dihydrogen phosphate (MDP) adhesive monomer, which provides durable adhesion to dentin, enamel, metals, and zirconia. Because of this dual-monomer technology, the cement is indicated for the cementation of virtually all restorative materials.1
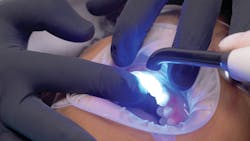
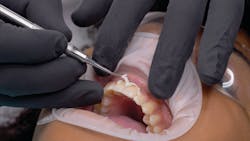
The procedure was further simplified by a curing technology that provides a durable seal, yet at the same time forms a gel-like consistency, which makes cleanup easier. The product, Panavia SA Cement Universal (Kuraray Noritake), was used as described here to secure Vitablocs TriLuxe Forte (Vita North America) glass ceramic restorations. The restorations were created to restore form and function to the traumatically injured central incisors of a young patient.
Case summary
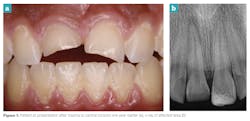
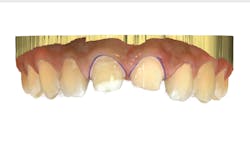
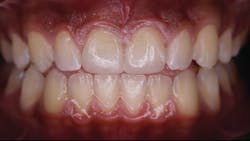
A 14-year-old female presented to our practice one year after a swimming pool accident. In the accident, she sustained traumatic injury to her central incisors (figure 1a). The oral examination showed that in addition to repairing broken incisal edges, treatment needed to take into account various factors. For instance, no. 8 required a necrotic nerve root canal, a post and core buildup, and full coverage. Additionally, no. 9 already had a large composite filling (figure 1b).
The challenge was to achieve harmonic balance in the shape and form of these two teeth in the esthetic zone. This needed to be done in concert with the medically indicated treatment in the existing dentition.
Technique
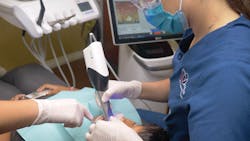
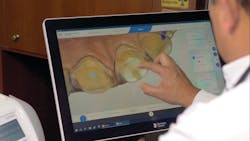
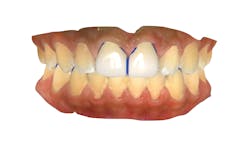
Preoperative digital impressions of upper and lower arches were taken with a CEREC Primescan (Dentsply Sirona) intraoral scanner along with the corresponding buccal bite to register the occlusion (figure 2).
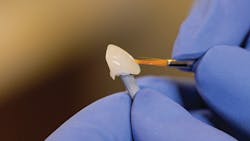
The restorations were finalized for shape, form, and texture using fine diamond burs, then stained and glazed using CZR pastes (Kuraray Noritake; figure 7). In addition, the Vita Smart Fire (Vita North America) oven was used for crystallization, glaze, stain, and corrective firing. Prior to final cementation, the restorations were tried in to check fit and esthetics.
References
1. Masao I, Maruo Y, Nishigawa G, et al. Are shear bond strengths to modern ceramics and flexural strengths of resin cements correlated? Poster presentation. International Association for Dental Research conference. June 21, 2019.
2. Yoshihara K, et al. The silane-coupling effect of a silane-containing self-adhesive composite cement. Poster presentation. International Congress on Adhesive Dentistry conference. June 16, 2019.
Daniel Vasquez, DDS, graduated from La Universidad de Guadalajara in Mexico in 1989. He opened his private practice in Oceanside, California, in 1999. In addition to his doctorate degree in dentistry, he has completed special training in oral surgery, endodontics, dental implants, orthodontics, conscious sedation, and cosmetic dentistry at the Las Vegas Institute for Advanced Dental Studies.
About the Author
Daniel Vasquez, DDS
Daniel Vasquez, DDS, graduated from La Universidad of Guadalajara in Mexico in 1989, and opened his private practice in Oceanside, California, in 1999. In addition to his doctorate degree in dentistry, he completed special training in oral surgery, endodontics, dental implants, orthodontics, conscious sedation, and cosmetic dentistry at the Las Vegas Institute for Advanced Dental Studies.
